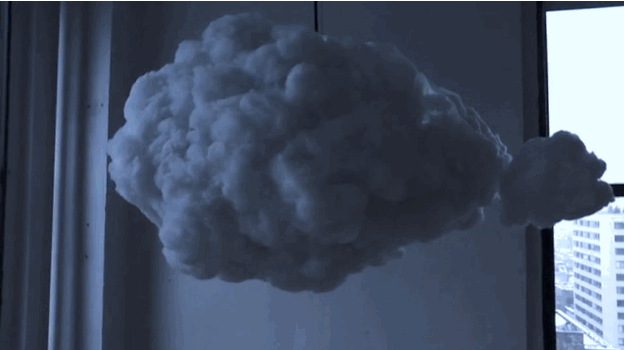
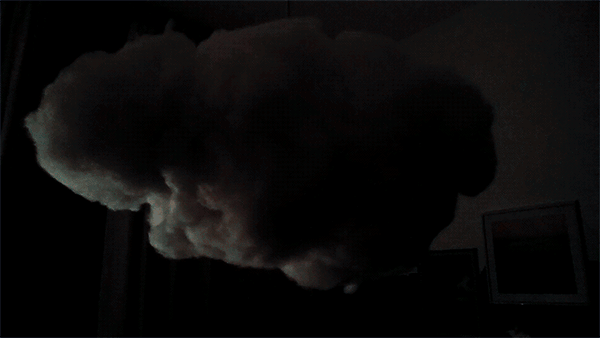
:cloud: Thundercloud :cloud:
This is a guide to create a beautiful arduino based thundercloud with an external sound source to trigger lightning.
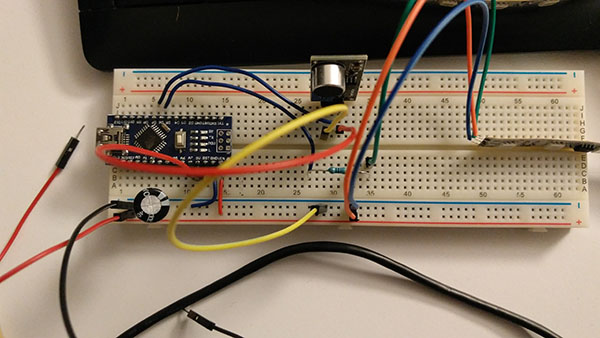
Breadboard and schematic


BOM - Bill of material
This setup uses a 12v power supply to power a 12v led stipe!
If you want to use a 5v neopixel you can remove the step up converter of the shopping list.
- 1x micro controller 5v-12v
- Arduino Nano or something similar like the Kuman Mini Nano
- 1x led stripe (ca. 75 led pixels)
- Adafruit NeoPixel 60/m (5V!) or a cheaper alternative like the BTF-LIGHTING WS2811 (12V!)
- 1x microphone module
- 1x bluetooth speaker
- 1x usb power supply
- With two usb slots
- 1x extension cable
- 1x usb 5v to 12 v step up converter
- 1x dc adapter
- 1x 1000uf capacitor
- 1x 1000 ohms resistor
- 1x 470 ohms resistor
- breadboard
- solder board
- enough jumper and cables
- soldering equipment
building materials
- wood
- chicken wire
- polyester batting
- fiberfill
- needle and thread
Assembly
-
Gather all materials and parts.
-
Create the circuit on a breadboard.
It’s the best way to figure out circuit problems and sort out broken parts. Trust me you don’t want to fix these problems when everything is assembled…
Here is a sample breadboard (without the cloud mode switch)
-
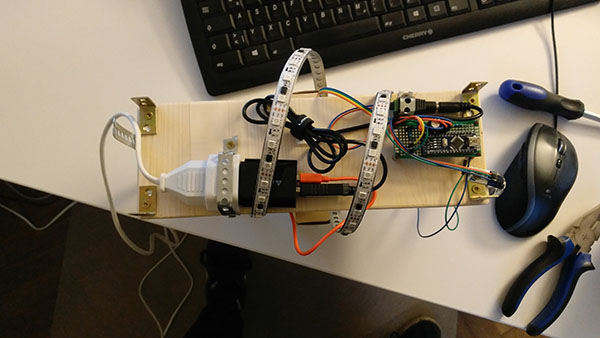
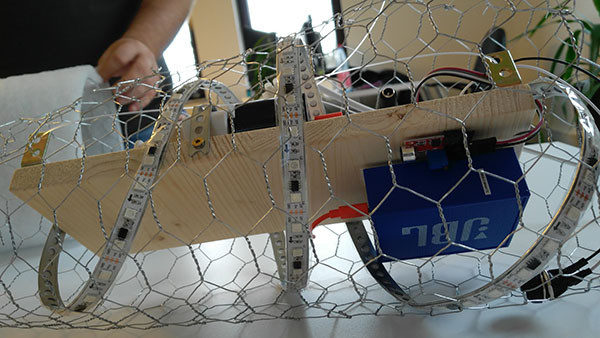
Solder everything on a solder board
-
Build a robust structure on a solid base
-
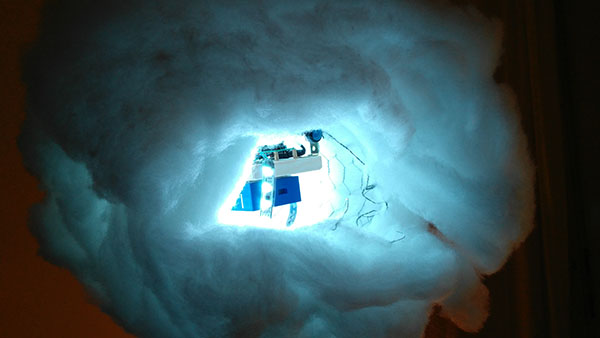
Build a mounting and wrap the chicken wire around the structure
It’s important to think about a maintenance opening to turn on the speaker and fiddle around inside. Don’t get too much into detail, the structure of the chicken wire only defines the finished cloud a little bit.
-
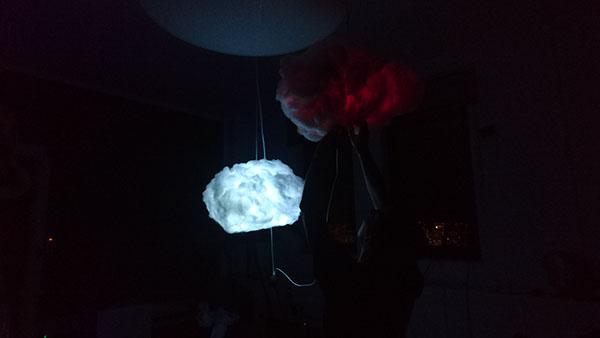
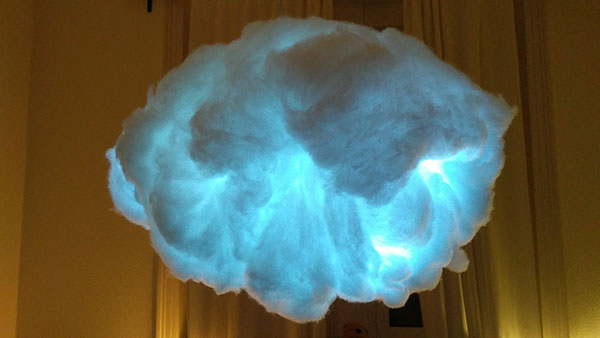
Sew the polyester batting around the cage and mount the wool
-
Bring the wool into shape
-
Enjoy :)


Helpful links
A big shout out to Richard Clarkson for his inspiring work!